Registering a Printer from the Printer’s Control Panel
-
Turn on the printer.
A registration sheet and a setup information sheet are printed during registration, so make sure you load A4 size plain paper in the printer.
-
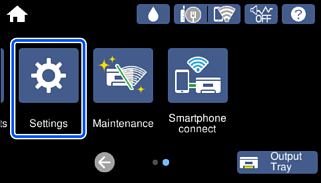
Select Settings from the home screen.

-
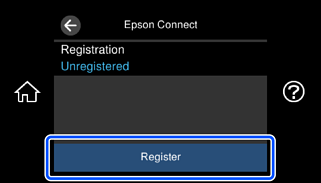
Go to Settings > Web Service Settings > Epson Connect Services, and then select Register.

-
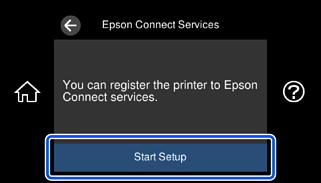
Select Start Setup.
The registration sheet is printed.

-
Access Epson Connect from the QR code on the registration sheet.
Note:You can also access to it by entering the URL in Step1 on the registration sheet into your browser.

-
Check that the verification code has been entered, and then tap Submit.
 Note:
Note:-
When accessing from the URL, enter the 6 single-byte alphanumeric characters from the Authentication code on the registration sheet into the Authentication code field on the Epson Connect screen.
-
The authorization code is valid for 60 minutes.
-
-
Tap the link to check the terms of service and privacy statement, check each item, and then tap Next.

-
Select the procedure you want to use according to your current registration status.
-
If you are new to Epson ConnectThe Create An Epson Connect Account screen is displayed. Enter your email address and password, and then tap Finish!.Note:
If you already have a user account and the following screen is displayed, click I already have an account to go to the Add a new printer or scanner screen.

-
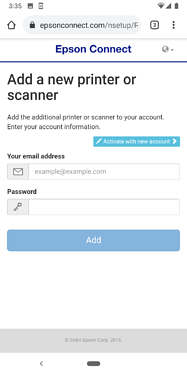
If you are already using Epson ConnectThe Add a new printer or scanner screen is displayed. Enter your email address and password, and then tap Add.Note:
If you are new to Epson Connect and the following screen is displayed, click Activate with new account to go to the Create An Epson Connect Account screen.

This completes printer registration. You can use the printer from Epson Template Collection.
In addition, a registration completion email is sent to the registered email address.
-
-
When the following screen is displayed, tap Go to Epson Template Collection.
You are returned to Epson Template Collection.
